Your design.
Your final say.
AI doesn't always get it right, that's why we let you have the final say.
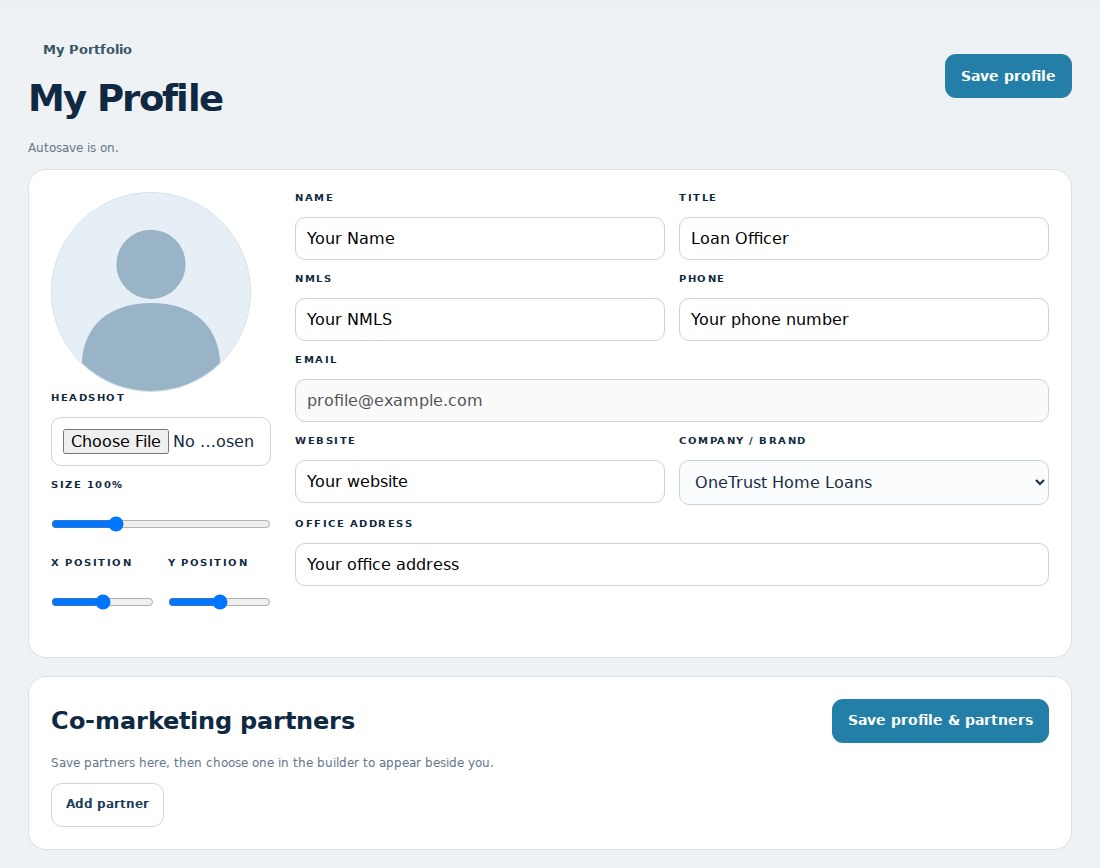
1. Set up your profile
Save your name, NMLS number, contact details, company brand and headshot. Add saved co-marketing partners if you work together. Your state licenses are verified from an NMLS screenshot or maintained by Marketing/Admin. The engine applies your saved information to the design.
2. Tell the engine what you need
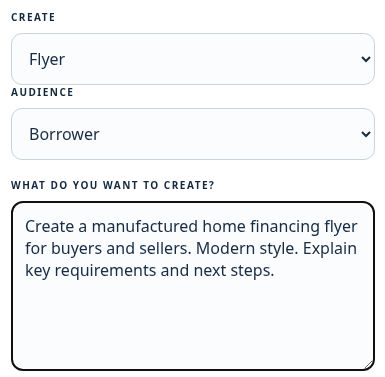
Choose Flyer, Social, or Both. Describe the product, audience, message and style. Choose an audience override when a piece is intended for a particular group. Product details come from approved information. Choose an audience that matches the people you want to reach.
Be specific: “Manufactured home financing for buyers and sellers. Explain eligibility and next steps. Modern, green and blue.”
3. Review the layout
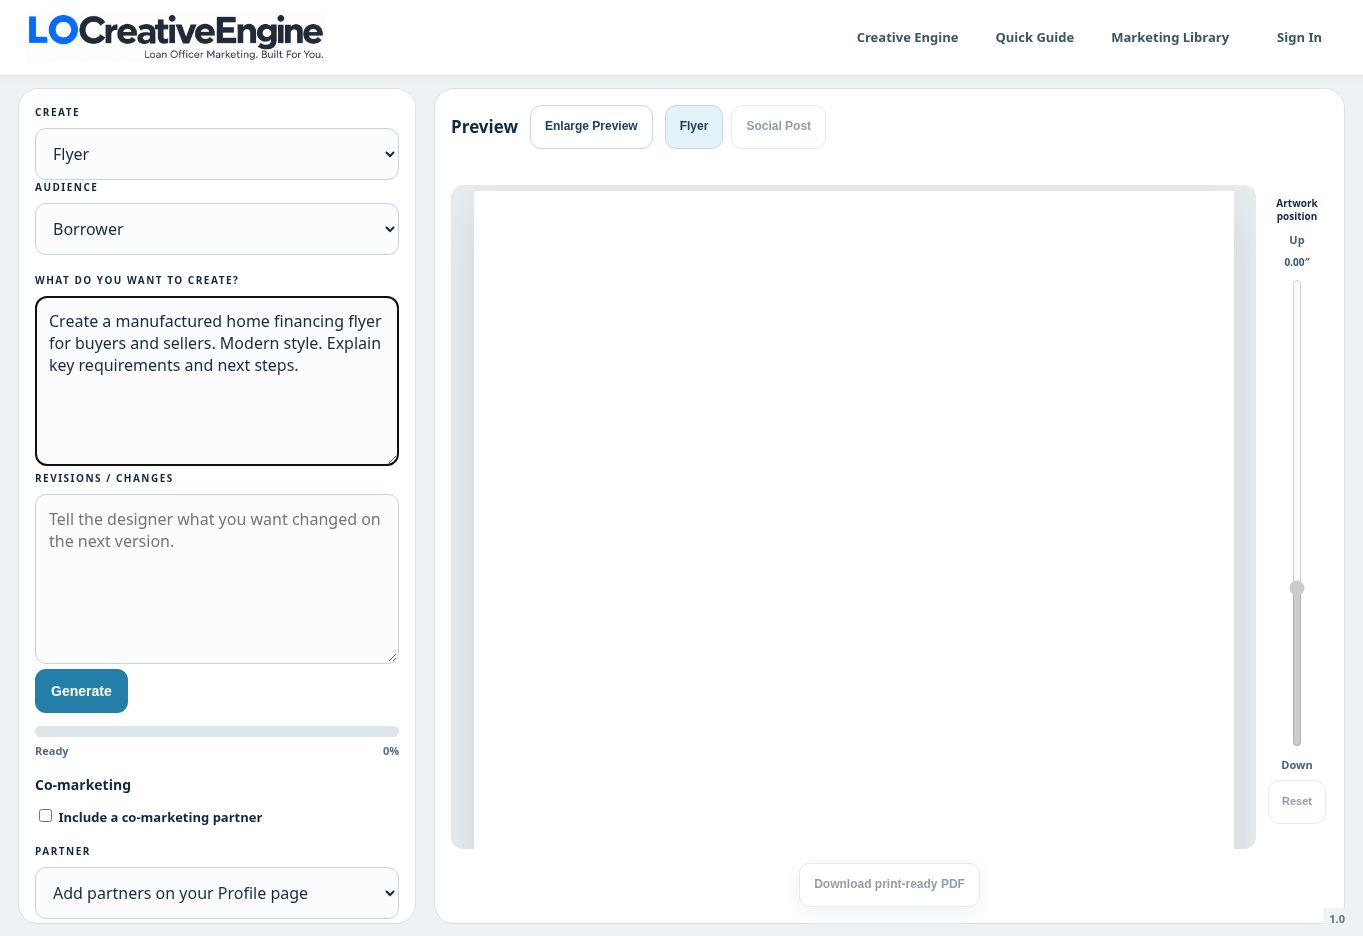
The engine uses reserved areas for your logo and profiles. AI can still leave extra space or place artwork near those boundaries. The builder applies your real company logo, saved profiles and disclosures afterward, so those records remain editable.
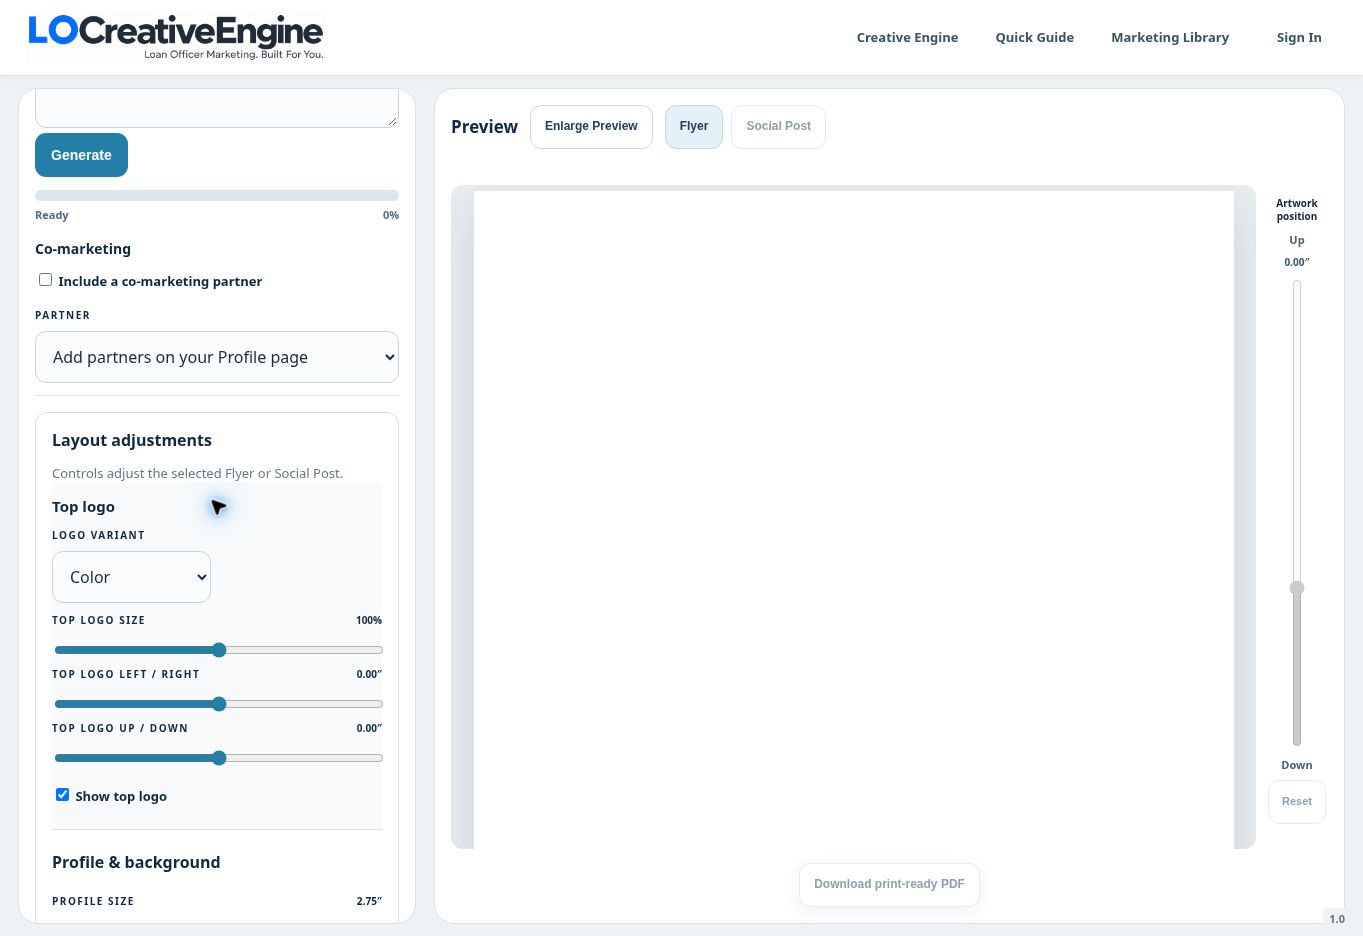
Use the Flyer and Social Post tabs to select which image the controls adjust. Each format keeps its own positions. Enlarge Preview gives you more room to review.
4. Make the final adjustments manually
- Artwork position: move the vertical slider up to raise the artwork or down to lower it. This slides the artwork without stretching its proportions. Start here and check both the headline and the bottom CTA.
- Top logo: choose the logo variant, set its size, then use Left/Right and Up/Down to position it in the quiet top area. Turn it off when needed.
- Profile size: change the height of the profile background area. Adjust background opacity to make the contact details readable.
- Profile position: use Left/Right and Up/Down; headshot size changes the photo emphasis. Profiles stay on the page and above the disclosure area.
- Social footer: choose a color that contrasts with the image. Social posts use an Equal Housing icon, company name, company NMLS and nmlsconsumeraccess.org over the background. Review any additional product/state disclosure requirements before distributing a social post.
The printed flyer’s solid disclosure footer has a fixed height. If shifting cannot fix the composition, use Tweak this design and describe the specific change. A revision retains the original in the library.
5. Finish, download and reuse
Review copy, qualifications, logo, contact details, licenses and disclosures. Draft appears only in the editing preview; downloads are clean. Downloading saves the finished piece to My Portfolio. Submit for publishing to share it; Compliance/Admin approval makes it available in the public collage and shared library.
In the library, use a piece with your profile or tweak the original design. Revisions are versions of the original. You can hide your pieces or move them to Deleted, then restore them.